Particles and God rays

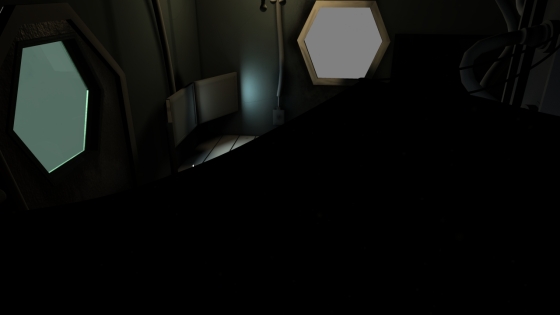
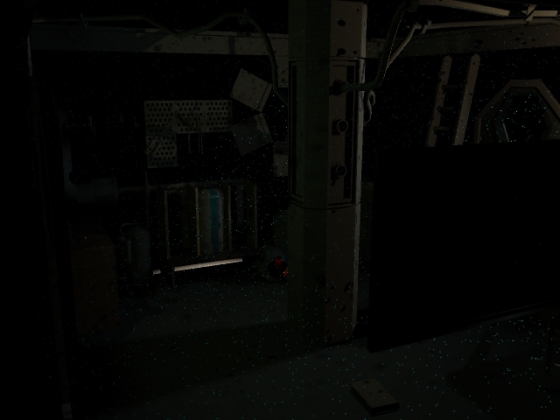
So in the Leonards main room in Kernal we want to add some dust particles in the room to add volume and make it seem more realistic, these particles need to be highlighted in the lights coming through the windows. Similar to the end of this.

I need to change the surface shader on the particles as they are only showing up against the window.

I have been having trouble with the renders coming out really dark, I will upload a better render of the dust in a little bit.

This is a playblast of the particles in action.

I tried to add some godrays coming in through the windows so that it could pick up the particles, initailly I was going to use in maya godrays however to save time we are going to add the godrays in in post. I created a light fog with a mr light shader to test the simplest form of godrays.


This works fine outside of the scene however when i bring import it the light fall off seems to cut short.


As you can see the particles are starting to get picked up in the light.

Once i realised that this wasnt working how i wanted it I started using a particle volume in which the lights would shine through it creating a mist, this is extremly hard on the render time and it to thick for this scene but I think it will look awesome in the greenhouse.

Cloud Renders

I started the cloud out trying to run the equations through fluids

Once I decided that using fluids wouldnt work and would make it to flat i went onto using particle instancers.

kl


Cloud

I have been having trouble with the cloud collisions that i have been working on, so I decided to make the cloud from scratch. 


Brain Bounce

In one part of Kernal there is a section where Leonard is dropping the brain seeds into the jars he is collecting them in. I set up a Rigid body collision to make it look more natural.

Hammock

For the project Kernal a hammock was required to be hanging in the main room of the shed, initially this was not going to be dynamic, however I thought it would look strange if it was completly rigid, and considering that he walks by it, I though it would look cool to have some air interaction or physical interaction if needed.

I started out by making a more complicated set up then needed, I was going to use nCloth however this can be quite glitchy if there is a low polycount and i also didnt want to extra solve time.

I first tried adding dynamic hair to each strap.

Once i realised that i was making it alot more complicated then needed, I changed all the hairs to just the one single hair and bound the mesh to that.

This is the result I got, I added a passive collider to see what the interaction would look like.

And a quick lift up of the hammock.

Stream Fluids

I was experimenting with what effects I could achieve with animated textures driving fluid simulations for the morphing aspect of Stream, as we are waiting on image sequences to use i made my own quick image sequences and tested the fluids out on that.


Motion Capture Lights

Well it’s been a few weeks since I updated my blog as I have been super busy with all the projects I  am working on, I have picked up some stereo work on The Dark Decent and have been working flat out onKernal and Hex. All in all I am working on about 5 projects at the moment.

I will start with this quick animation I did for Jackson’s Hexmap, Jackson wants to use motion capture to capture the movements of dancers using emmiters to leave motion trails. Similar to that of the dancers with the ribbons.

I used some original motion capture that i had and applied the light emmiters to that motion and this is the result, i think that it looks pretty cool however as the motion capture was for a character peice there is not enough movement. I am next going to create more motion capture and see how that looks with the emmiters.


Animated Exeter 2012 Ident

Well Omari McCarthy, Marc Cullen, Elliot Crutchley,  Dave MacDonald and Jamie Romp from the second year have finished the Ident that they were working on for Animated Exeter, a Brothers Mcleod inspired short and it has turned out amazing. I had a little role on the project rigging the big blobby creature.

Well Done!

I will give the link as it’s not letting me embed the video.

http://vimeo.com/36189437


Rig

I created this quick rig to help out the 2nd years for a trailer they are making for animate Exeter. I was supplyed with the model and two tongue shapes, and given the instructions that the eyes needed to move and the tongue needed to roll back into the mouth and the mouth needs to close.

Although I was given two tongue shapes to use as blend shapes, it didnt seem to work well and kept retracting through the tongue rather than curling, to overcome this i just created a joint chain and added loads of set driven keys until it reacted how i wanted from one slider. My next task was to animate the mouth, I found this awkward as the mouth was set in a very extreme position rather than closed, initially i tried to rig it using curves and cluster points, and although it technically worked there was to much detail to play around with just for the simple mouth closing action. I decided to go the blend shape route which wasnt to hard.

I then set up the curl of the tongue and the mouth closing so that it would happen at the sametime seamlessly. This can all be animated from one slider.

I added a quick eye set up and global control to finish it all off.

Here is a test of it in action.